First Steps to Follow When Removing Isolation Gowns and Gloves
it’s miles essential to correctly eliminate non-public defensive gadget (PPE) in the course of isolation precautions to save you the spread of pathogens. the subsequent will detail the stairs for disposing of isolation gowns and gloves, and emphasize the and hygiene protocols to ensure safe operation.
The removal sequence of gloves and isolation suits
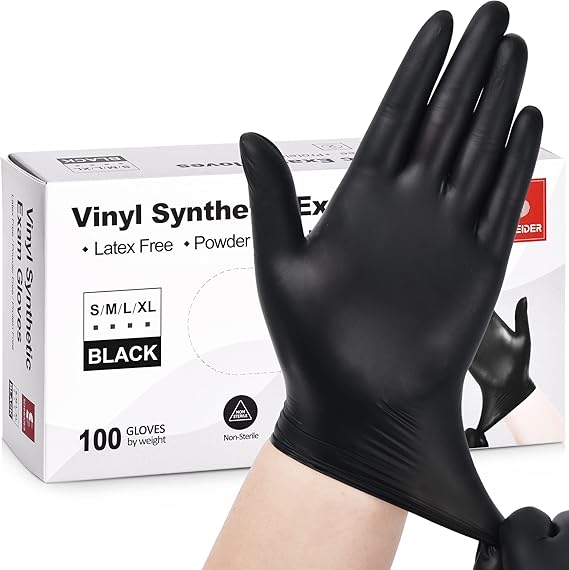
when doing away with gloves, observe these steps to ensure safety and hygiene:
- look into the inside and outside of the gloves to affirm there are no tears or contaminants on the surface.
- turn the gloves internal out at the wrist to avoid touching the outside surface.three. Use the fingers of the hand no longer wearing the gloves to grab the wrist a part of the glove, gently turn it, isolating the glove from the wrist.
- With the help of the alternative hand, pull the glove down from the wrist to make sure it’s miles completely removed.five. After getting rid of the gloves, flip them internal out so the interior floor faces out, making it easier to put off them together.
- right now disinfect your hands, the usage of hand sanitizer or soap and water to ensure cleanliness.
while putting off isolation fits, comply with this technique:
- test the outside and inside of the in shape to confirm there aren’t any tears or contaminants.
- before removing the in shape, first cast off the gloves, following the stairs previously mentioned.three. turn the collar of the isolation match down beneath the neck to keep away from the collar touching any probably contaminated surfaces.four. begin from the the front facet of the fit, pull the collar down at the same time as holding it, lightly removing the healthy from the top.
- maintain the internal of the fit facing out to avoid infection.
- flip the bottom hem of the suit upwards to ensure it does no longer contact the floor or others.
- Roll up the sleeve openings of the healthy to save you them from contacting assets of infection.
- preserve the sleeve openings and pull the healthy off from beneath the hands.
- After removing the fit, fold it smartly with the inside facing out and location it within the designated location.
- Disinfect your arms again to make certain they’re easy.
all through the removal manner, keep calmness, gentle movements, and keep away from producing droplets to make certain protection for both your self and others. After crowning glory, put off the gloves and isolation in shape according with scientific waste disposal policies.

First steps
when casting off gloves and isolation suits, the primary step is to ensure hand hygiene. medical personnel need to make sure that their hands are absolutely dry earlier than elimination to keep away from infection all through the process because of moisture. The unique steps are as follows:
-
prepare disinfectant: before disposing of the gloves, clinical body of workers need to use an ok quantity of disinfectant to their fingers to make sure cleanliness.
-
Pull the glove edge: lightly pull the threshold of the glove as much as the wrist, however be cautious now not to allow the interior surface of the glove touch the pores and skin.
-
lightly pinch the glove area: Use the opposite hand to pinch the edge of the glove that has been pulled up to the wrist, ensuring that the glove does no longer slip off.
-
gently flip the glove: turn the inner surface of the glove to the outdoor, taking care not to the touch the contaminated side of the glove.
-
remove the glove: Use the fingers pinching the glove edge to tear it alongside the edge until the glove is completely eliminated. Be careful not to allow the contaminated aspect of the glove contact the pores and skin or garb at some stage in the elimination method.
After getting rid of the gloves, the next step is to do away with the isolation healthy. here are the steps for doing away with the isolation fit:
-
locate the zipper: There is mostly a zipper at the the front of the isolation healthy that medical workforce need to find and unzip.
-
dispose of the mask: before beginning the zipper of the isolation suit, medical team of workers need to first eliminate the masks to save you any viruses or bacteria at the masks from contaminating the match.
three. carry the lowest hem of the healthy: amplify one hand into the isolation fit and gently carry the lowest hem away from the body.
four. gently pull the zipper: Use the alternative hand to tug the zipper down till it’s miles completely open.
five. do away with the isolation in shape: With the zipper open, scientific body of workers can pull the suit up from the collar alongside the neckline, allowing it to be eliminated from over the head. Be cautious not to the touch the contaminated aspect of the match in the course of the elimination system.
- Fold the isolation fit: After eliminating the in shape, fold it right into a packet with the tainted aspect dealing with out, for unified disinfection processing.
via following those steps, medical staff can successfully and correctly cast off gloves and isolation fits, lowering the danger of go-contamination. at some stage in the elimination system, medical group of workers have to hold high vigilance and strictly adhere to hygiene requirements to ensure the protection of themselves and others.
Correct method for removing gloves
-
ensure thorough hand cleaning: earlier than disposing of the gloves, it’s miles vital to make sure that your fingers have been thoroughly washed with soap or hand sanitizer to cast off any capability pathogens.
-
inspect the inner of the gloves: take a look at for any obvious contaminants at the internal of the gloves, inclusive of blood or bodily fluids, which may additionally make it hard to remove the gloves.
three. begin on the wrist: Use the other hand to gently undo the buckle or fastener on the wrist of the gloves, making sure that it’s far completely free to keep away from the gloves sticking in your wrist.
- gradually pull off the gloves: maintain the outer edge of the glove with one hand, whilst assisting the internal with the opposite, and slowly pull the glove off until it reaches the wrist.
five. keep the gloves from flipping inner out: make sure that the gloves do now not turn interior out whilst pulling them off, as this reduces the risk of infection and maintains the smooth side of the glove outward.
-
handle the contaminated vicinity right away: once the gloves are completely eliminated, right now wash your palms with cleaning soap and water, and do away with or nicely disinfect the gloves to prevent pass-contamination.
-
Wash hands once more: After getting rid of the gloves, wash your hands with cleaning soap and water again to make sure thorough hand hygiene.
-
check the integrity of the gloves: After casting off the gloves, look at them for any tears or holes. If there are any, replace with a new pair of gloves and retain with the hand hygiene tactics.
-
Use suitable waste containers: region the used gloves in a covered waste box to avoid direct touch and prevent secondary contamination from the gloves entering touch with the outside surroundings.
-
keep a smooth work environment: keep the paintings place clean during the glove elimination manner to avoid the spread of dust or bacteria, similarly reducing the chance of contamination.
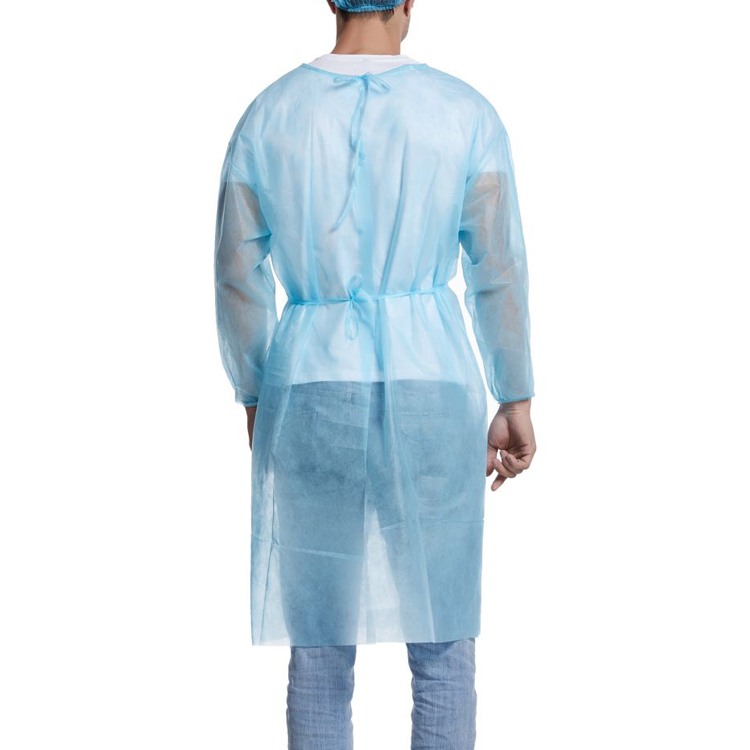
Removal Steps for Isolation Gowns
- thoroughly disinfect both palms to make certain they may be freed from any contaminants.
- gently hold close the brink of the isolation gown’s sleeve with one hand above the opposite.three. Slowly pull up until the sleeve is completely off the wrist, being careful now not to the touch the inner of the gloves.four. Repeat the equal method to take away the other glove, keeping off move-infection.
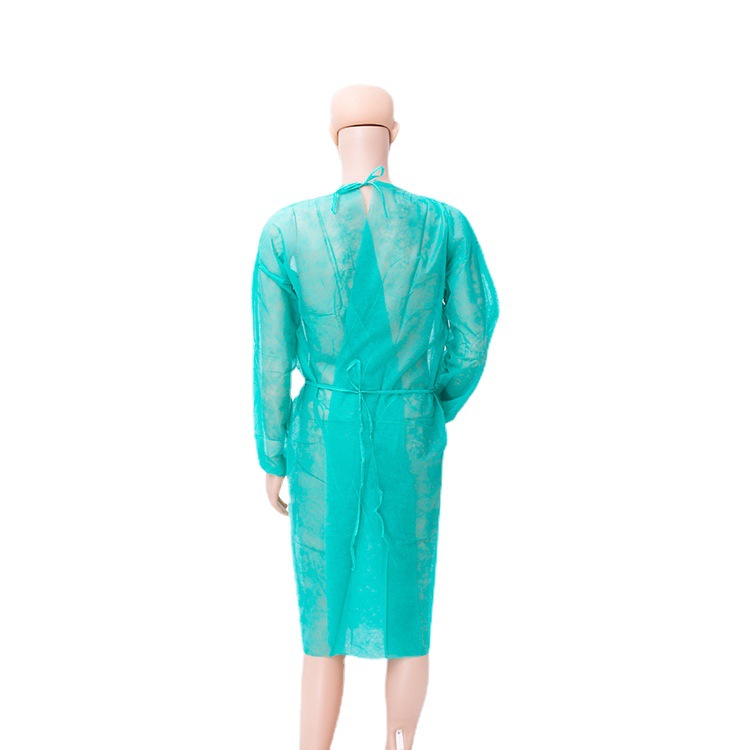
- once the gloves are completely removed, use the hand not wearing gloves to understand the bottom hem of the isolation robe.
- begin pulling the robe up from one side of the frame, making sure it reaches the shoulder stage.
- Roll up the sleeves of the gown up to the shoulder, at which factor the gown should be separated from the body.eight. the usage of the hand without gloves, pull the gown up from the alternative side of the frame, beginning from the shoulder.nine. As you attain the shoulder, cautiously roll up the sleeve of the gown to ensure the cuff is completely off the shoulder.
- Repeat steps eight and nine till the gown is fully eliminated.
- flip the robe inside out in order that the tainted facet is going through out.
- Roll the gown into a cylindrical form for smooth placement into the targeted medical waste container.
- Disinfect your fingers again to make certain they’re clean.
- check that the robe is absolutely removed, making sure there are not any remnants left.
- take away the eliminated robe and gloves in line with the particular waste disposal policies of your group.
Cautionary Notes and Hygiene Standards
while casting off isolation suits, it’s miles vital to strictly adhere to the subsequent hygiene requirements and precautions:
-
make sure a smooth surroundings: earlier than removing the isolation match, ensure that the paintings region is easy to prevent pass-contamination. If essential, use disinfectant to wipe down the work floor.
-
non-public safety: wear new gloves before putting off the isolation suit to prevent hand contamination.
-
correct removal sequence: First, take away the bottom hem of the isolation suit, then the sleeves, and subsequently the head protection.
-
avoid Touching the Face: at some point of the removal method, do not touch the face at once along with your fingers, especially the eyes, nostril, and mouth.
-
move from contaminated to easy area: whilst removing the isolation suit, constantly circulate from the contaminated area (along with the outer side of the gloves) to the clean place (including the internal aspect of the gloves).
-
take away the Isolation healthy bottom Hem: lightly hold close the bottom hem of the isolation in shape and pull it as much as make sure that the gloves are absolutely separated from the lowest hem.
-
take away the Sleeves: hold one hand around the sleeve cuff of the isolation suit, and use the alternative hand to drag the sleeve out from the cuff, making sure the sleeve is completely eliminated.
eight. do away with the top safety: gently grasp the brink of the pinnacle safety and pull it up to make certain that hair and the face are not contaminated.
-
get rid of the Gloves: seize the edge of the glove with one hand and push it out from the internal with the alternative hand, ensuring that the inner of the glove is outward while eliminated.
-
test for contamination: After doing away with the isolation in shape, take a look at if the gloves and match are infected. in that case, disinfect them immediately.
eleven. dispose of the Isolation fit: Fold the removed isolation fit right into a small rectangular and location it in the distinct clinical waste bag, making sure it’s miles sealed.
-
easy fingers: After removing the isolation fit, very well easy your arms with hand sanitizer or disinfectant to prevent move-infection.
-
wear New protective gear: After finishing the hygiene technique of putting off the isolation match, put on new protecting device as wanted, including mask and gloves.
-
keep ventilation: After doing away with the isolation match, hold the work region properly-ventilated to reduce the attention of pathogens in the air.
-
regular Inspection: often inspect the integrity of the isolation in shape. If there are any tears, update it promptly.
-
schooling and guidance: train staff at the elimination of isolation fits to make certain that everyone knows the precise steps and precautions.
-
Adhere to policies: Strictly follow the hygiene standards and operational processes of the sanatorium or applicable institutions to make sure safety.
-
conversation and Cooperation: preserve good conversation with colleagues all through the removal of isolation fits to collectively preserve the hygiene and safety of the paintings environment.