The Correct Order for Removing Protective Clothing Before Leaving a Patient’s Isolation Room – It’s Essential with Q & X
the right sequence of wearing and doffing shielding gear is essential whilst handling sufferers in isolation rooms, because it now not only issues personal safety however is also a key aspect in preventing cross-infection. the subsequent will offer a detailed description of the diverse steps worried in the doffing method to ensure that the operation is standardized, safe, and efficient.
The importance of the removal sequence of isolation room protective suits
-
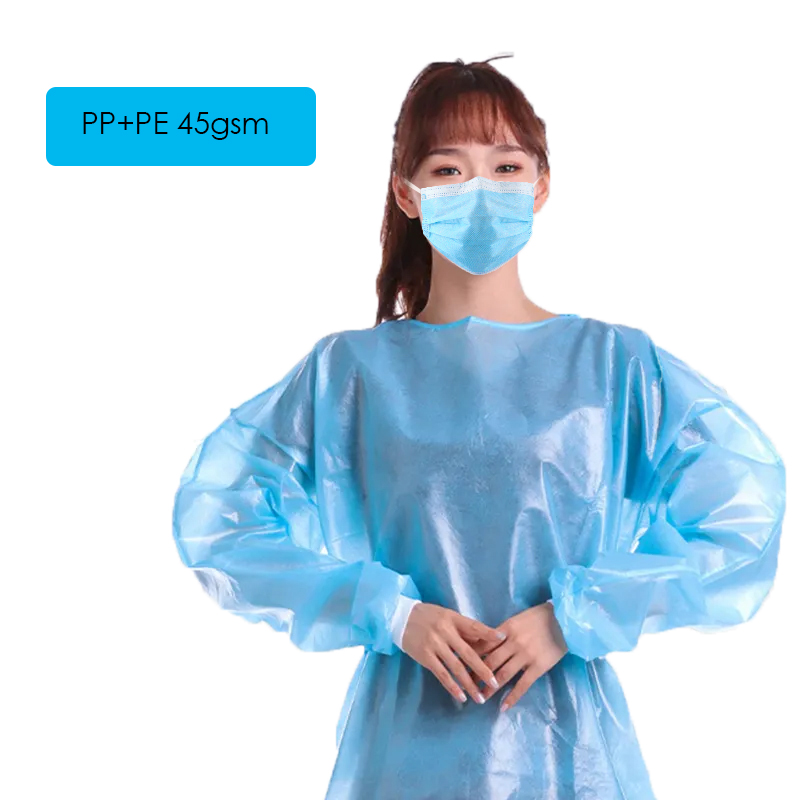
The order of donning and doffing isolation gowns is crucial for the safety of both medical staff and patients. Correct procedures not only effectively prevent the spread of pathogens but also protect healthcare workers from infection.
-
When dealing with patients with infectious diseases, isolation gowns serve as the first line of defense against viruses and bacteria. Inappropriate order of doffing can lead to pathogens remaining on the gown, increasing the risk of cross-infection.
-
Adhering to the correct doffing sequence ensures that pathogens are contained within the gown, reducing the potential threat to the environment and others during the doffing process.
-
Improper order may cause healthcare workers to inadvertently come into contact with the contaminated surface of the gown during doffing, increasing the risk of infection. Therefore, strictly following the prescribed steps is crucial.
-
The correct doffing sequence helps maintain the integrity of the gown, reducing damage to it, thereby extending its lifespan and lowering medical costs.
-
In practical operations, healthcare workers may face stress and tension. Properly mastering the doffing sequence can improve work efficiency and avoid delays caused by operational errors.
-
Adhering to the doffing sequence also reflects medical standards, helping to enhance the overall service level of medical institutions and establish a positive industry image.
-
For patients, the correct doffing sequence of isolation gowns can reduce secondary injury to them and ensure comfort during their isolation period.
-
In the context of the global pandemic, the correct sequence of doffing isolation gowns is an important guarantee for public health safety, helping to contain the spread of the virus and protect people’s health and lives.
-
Therefore, the importance of the isolation gown doffing sequence cannot be overlooked. Medical staff should master and strictly implement relevant operational specifications to ensure medical and public health safety.
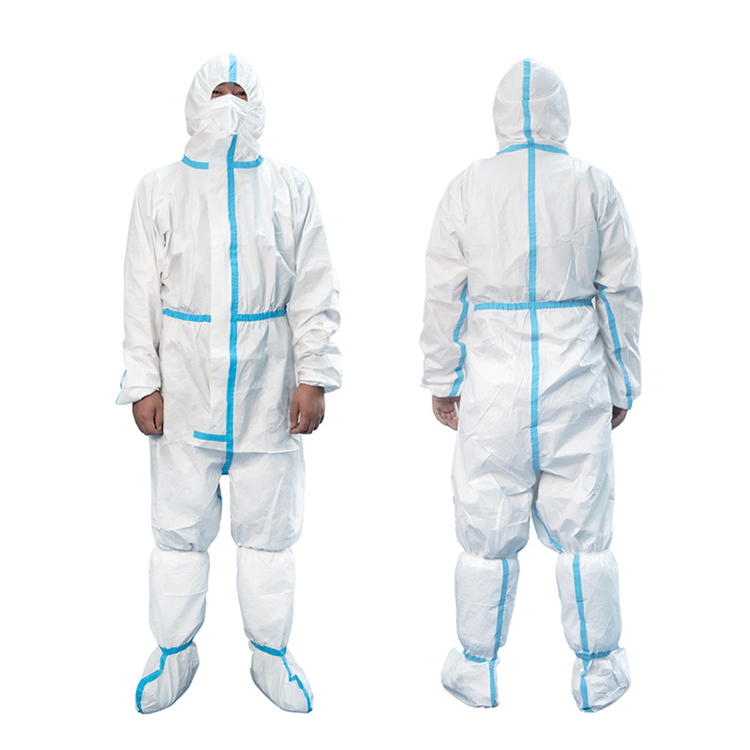
Correct steps for removing protective suits are as follows:
Disrobing shielding garb is a stringent operation that now not best issues personal safety however additionally at once impacts the hygiene protection of the isolation environment. here is an outline of the suitable steps for disrobing shielding garb:
-
maintain a clean surroundings: make certain that the isolation room is smooth before disrobing, to avoid the risk of move-infection.
-
confirm protection: earlier than disrobing, confirm that there was no contact between the patient and any a part of the protective garb to save you possible infections.
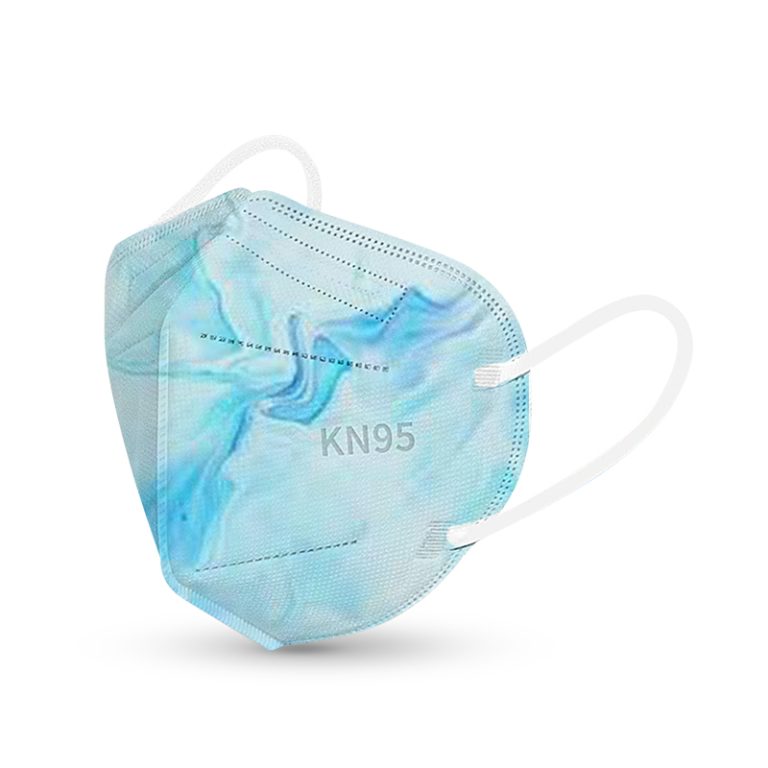
three. wear Eye protection or a Face protect: in the course of the disrobing system, maintain safety for your eyes or face to save you viruses or micro organism from coming into the breathing tract without delay.
four. do away with Gloves First: begin via disposing of the gloves, taking care no longer to permit the inside of the gloves contact your skin to keep away from infection.
-
get rid of Head tools: subsequent, take away the head tools including a hat or face mask, ensuring now not to the touch the face.
-
Disrobe the frame shielding fit: start from the lowest of the protecting in shape and eliminate it upwards, warding off exposing the inner layer of the suit to the outside surroundings.
-
avoid Touching Unexposed pores and skin: during the disrobing system, reduce direct touch between your fingers and any unexposed skin.
eight. take away Shoe Covers: subsequently, put off the shoe covers, making sure that the clean side of the shoe cover is going through out.
-
Hand Hygiene: After disrobing, at once sanitize your palms very well to ensure hand hygiene.
-
Categorize and dispose of protecting clothing: put off the eliminated protecting garb in step with the specified scientific waste managing techniques.
-
leave the Isolation Room: simplest leave the isolation room after making sure non-public and environmental safety.
-
maintain non-public Hygiene: hold to maintain private hygiene after leaving the isolation room to save you sporting pathogens to different regions.
-
report the scenario: After disrobing, report the method to the relevant scientific workforce for vital health monitoring.
by using following those steps, the chance of go-infection may be effectively reduced, making sure the safety of both healthcare employees and patients. each step calls for careful managing and no detail need to be neglected.
Step 1: Remove gloves
The elimination of gloves is the first step inside the procedure of removing protective clothing, a essential that now not simplest issues personal safety but additionally impacts the effectiveness of isolation. right here are the suitable steps for casting off gloves:
- make certain that both palms have been thoroughly disinfected and are stored clean and dry.
- when using gloves, make sure there’s no hole between the brink of the glove and the skin to save you pathogens from via the.three. Insert the thumb and index finger into the elimination commencing of the glove, gently flipping the glove inner out closer to the returned of the hand.
- Slowly pull the glove off, warding off touching the inside of the glove at some point of the flip to prevent contamination.five. If there’s any contamination at the inner of the glove, use the other hand to softly tap the outer side of the glove to dislodge it onto the outdoor.
- After flipping the glove, use the other hand to assist in casting off the glove from the wrist, making sure that the out of doors of the glove faces outwards.
- turn the removed glove inside out, ensuring the interior is facing out, after which vicinity it right into a pre-prepared scientific waste bag.eight. if you want to the touch different items for the duration of the glove elimination procedure, wash your arms without delay to prevent cross-contamination.
by means of following these steps, you may make sure that gloves are well removed for the duration of the manner of doing away with shielding garb, preventing pathogens from spreading via the gloves and as a consequence safeguarding the fitness and safety of individuals. furthermore, the standardized procedure of glove elimination is an critical factor of isolation measures, supporting to lessen the threat of infection.
Step 2: Remove the protective suit headgear
when getting rid of headgear, it’s far crucial to comply with strict aseptic operation tactics to prevent cross-infection of pathogens. here are the unique steps for doing away with headgear:
-
protecting Glasses or Face defend: First, gently press the edges of the protective glasses or face guard, making sure that the edges haven’t any pressure contact with the face. Then, begin from the pinnacle and slide the masks outward below the brow. avoid direct contact with the face and the inner facet of the masks to prevent infection.
-
Hats or Head Coverings: If carrying a hat or head protecting, carefully carry the rims and gently pull it down from the top of the top. avoid touching the interior of the hat along with your palms to save you contamination.
three. protective Goggles or Face screens: If the usage of shielding goggles or a face screen, start from the sides and slide them down from underneath the eyes to the chin, then lightly raise up. make sure that the floor isn’t always touched for the duration of the method.
four. Disinfection: After putting off all headgear, immediately disinfect the touch surfaces using a chlorine-containing disinfectant or alcohol swabs. make sure that the disinfectant covers all areas which can have been touched.
-
alternate Gloves: After disinfection, without delay trade to new sterile gloves to save you re-contamination during subsequent operations.
-
Inspection: in the course of the procedure of doing away with headgear, be vigilant for any signs and symptoms of pathogens that can be connected to the device, and right away disinfect if any are determined.
-
Categorization and Disposal: After removal, get rid of the headgear in step with the rules of the scientific facility to ensure proper disposal of scientific waste.
eight. non-public Hygiene: preserve private hygiene throughout the removal of headgear, avoid touching the mouth and nostril together with your fingers, and smooth your palms with hand cleaning soap or a disinfectant.
nine. Environmental Disinfection: After doing away with headgear, disinfect the isolation room very well to lessen the attention of pathogens inside the surroundings.
- Documentation: at some stage in the removal of headgear, exact data of each step ought to be stored for future traceability and evaluation.
with the aid of following those steps, the spread of pathogens at some stage in the removal of headgear can be efficaciously avoided, making sure the protection of healthcare employees and sufferers.
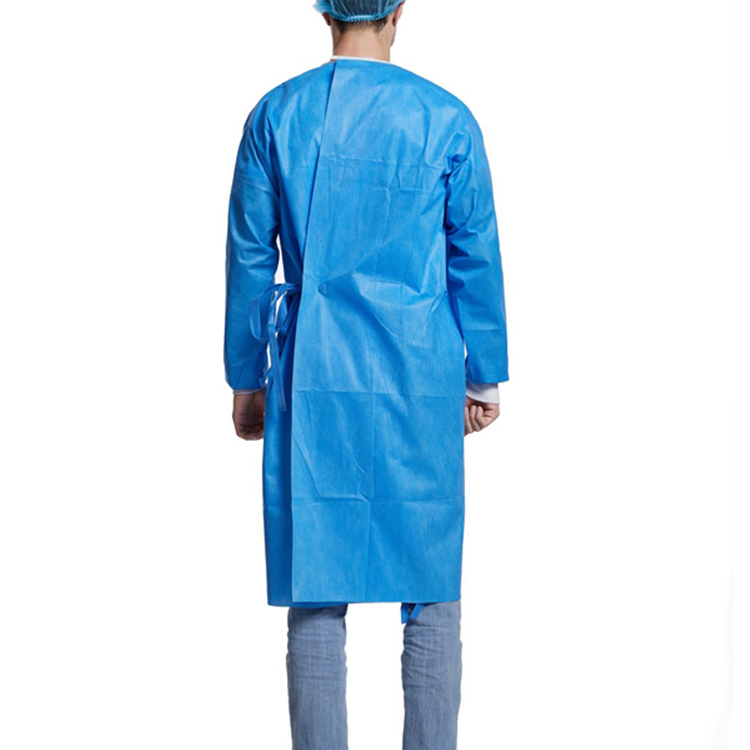
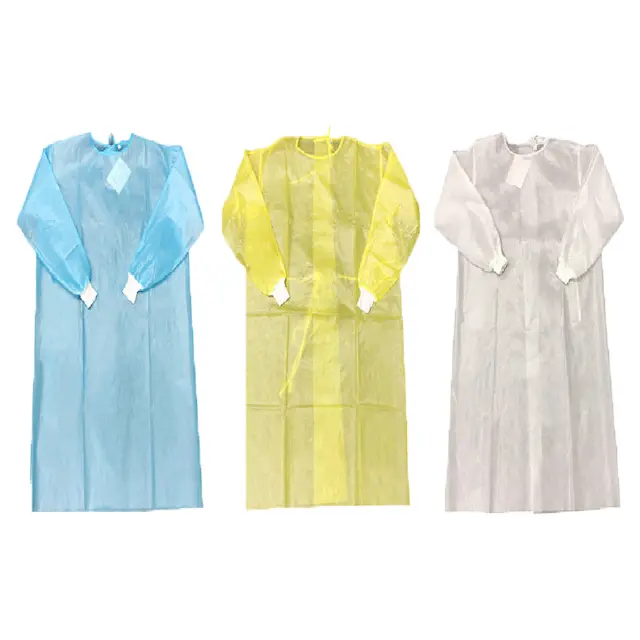
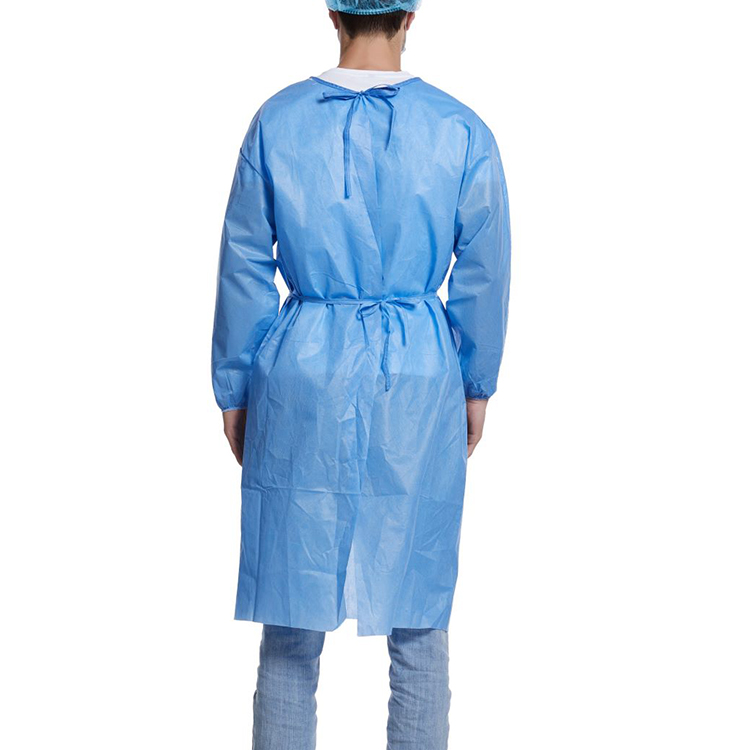
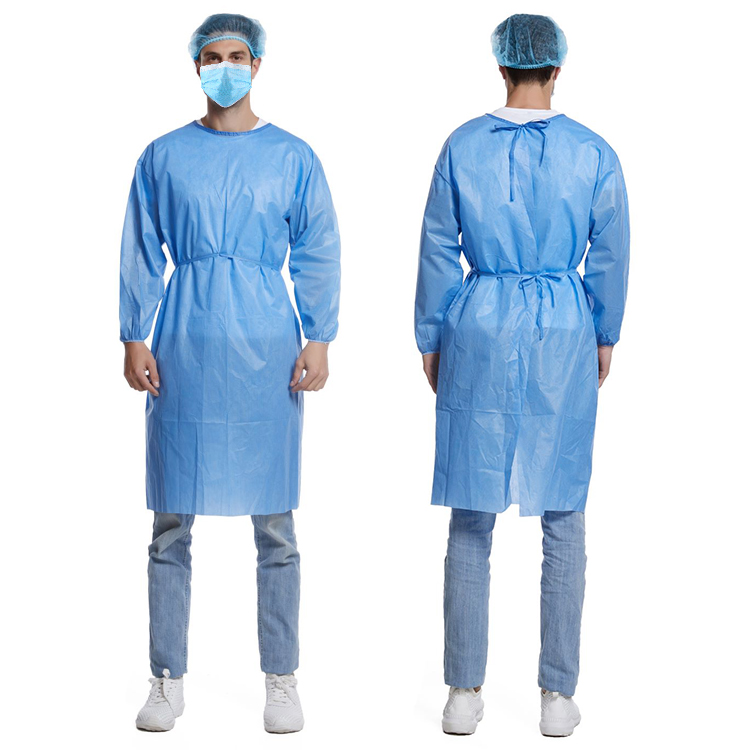
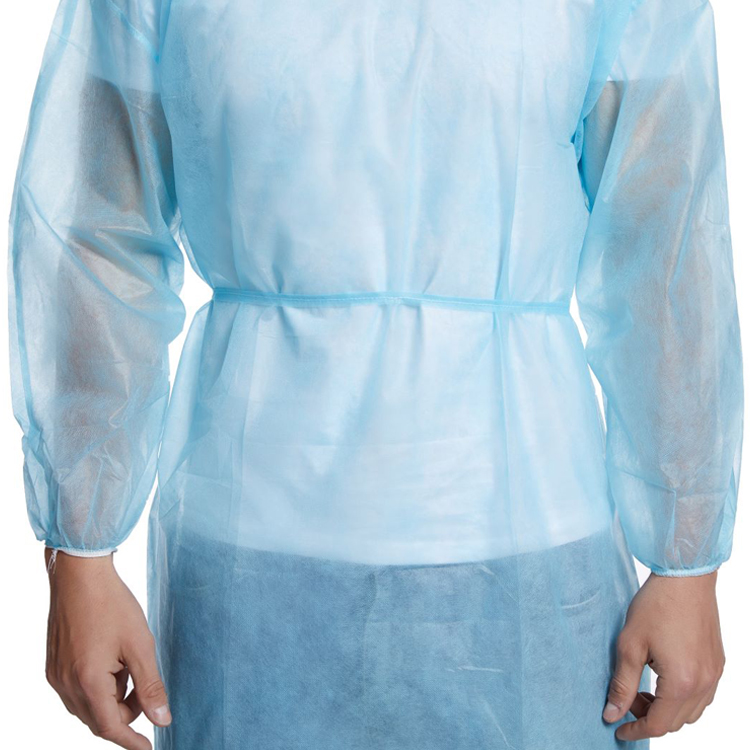
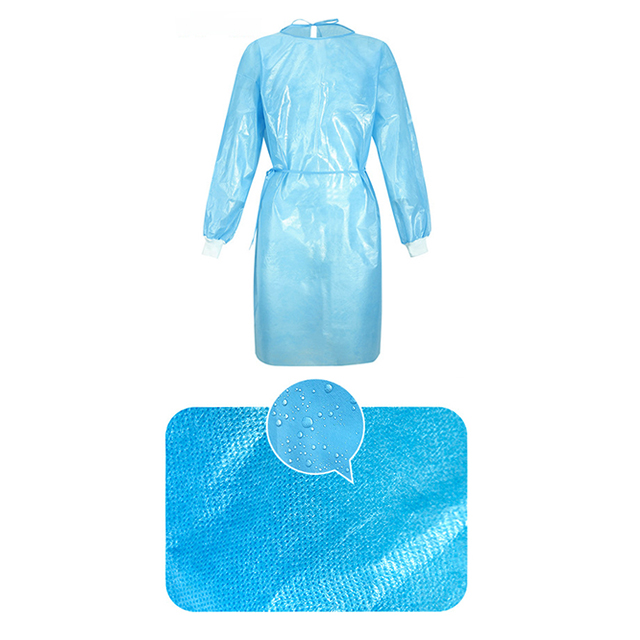
Step 3: Remove the body protective suit
while getting rid of a body protecting healthy, it’s far important to follow the following steps to make sure protection and hygiene:
- extend your palms into the sleeves of the protecting fit, taking care now not to touch the indoors of the sleeve.
- Pull up the sleeve of the protective suit to simply above the elbow, ensuring that your fingers do not come into contact with any potentially contaminated surfaces.three. Roll up the bottom of the protective match towards the legs, exposing them at the same time as keeping clean hands.
- grab the collar of the protecting fit with both fingers and pull it down from the top, starting from the top to dispose of the match.five. for the duration of the removal manner, make sure that your face isn’t always immediately exposed to the air. Use the alternative hand to gently cowl your mouth and nostril.
- as soon as the suit has reached the chest, carefully insert your hands into the inner of the apparel to retrieve the belt.
- gently unfasten the belt, being careful now not to the touch the interior of the protective suit along with your fingers.eight. eliminate the protective match from above your body, whilst maintaining your fingers faraway from your body to keep away from touch with any capacity contaminants.nine. After eliminating the protective in shape, right now roll the apparel into a tube shape, ensuring that the tainted facet is facing inward to prevent infection of the outside environment.
- region the removed defensive healthy inside the precise scientific waste box, keeping off touch with different gadgets.
- After putting off the protective fit, without delay disinfect your hands, the use of hand sanitizer or following the prescribed technique with soap and easy water.
- if you accidentally come into contact with the contaminated region at some point of the elimination technique, forestall without delay, easy the affected vicinity with disinfectant, and rewear new defensive gloves.
- at some point of the removal of the protecting in shape, usually maintain a solid body function and avoid excessive movements or wide ranges of movement to prevent the garb from falling off and inflicting secondary contamination.
those steps must be strictly followed according with protective policies to ensure the safety of healthcare employees during the removal system and efficaciously save you the transmission of viruses or bacteria.
Step 4: Remove shoe covers
while removing shoe covers, it is crucial to observe those steps to make certain safety and hygiene:
- hold your hands smooth and avoid touching your face or nostril.
- preserve the two facets of the shoe cover along with your arms, gently pull them as much as separate the cover from your feet.
- Be careful now not to allow the eliminated shoe cowl come into touch with different items or the floor to save you go-contamination.
- Pull the shoe cover up from your ft to the knee degree, warding off direct contact with the interior of the quilt.
- If the shoe cover has a zip or fastener, use those to assist put off the quilt completely from your feet.
- as soon as the shoe cover is removed, right away discard it into the detailed clinical waste container to save you secondary contamination.
- After putting off the shoe cowl, disinfect your hands with a disinfectant, specially the elements which have touched the cover.eight. If there may be a 2d layer of shoe cowl, repeat the above steps until all shoe covers are appropriately removed.nine. during the elimination method, maintain your frame parallel to the ground to keep away from tilting and probably inflicting the protective match to fall off.
- After disposing of the shoe covers, at once change into new private protecting gadget, which include new shoe covers or different essential defensive gadgets.
the subsequent factors ought to be paid special interest to while removing shoe covers:
- avoid touching the interior of the shoe cowl with your palms to save you the spread of pathogens.
- preserve your moves gentle to keep away from unfavourable the protecting fit in the course of removal.
- ensure that every one protective gadget is properly disposed of after removal to preserve the cleanliness and safety of the clinical surroundings.
- If any ordinary situations are detected in the course of the elimination manner, without delay stop the operation and seek steerage from professionals.
- After the elimination is whole, leave the isolation place right away to avoid exposure to capacity infection risks in public areas.
by using following those steps, you could make certain that the removal of the protective match when leaving the isolation room is each secure and efficient, and minimizes the threat of pathogen transmission.

Fifth Step: Hand Disinfection and Isolation
Disinfection and isolation of the palms are vital steps in preventing the unfold of pathogens after eliminating private protecting system. right here is the specific operational method:
-
locate Disinfectant materials: before leaving the isolation room, make certain you find disinfectant answer and paper towels or disinfectant wipes. The disinfectant have to comprise effective disinfecting components, along with alcohol or iodine solutions.
-
remove Gloves: before touching any external gadgets, you need to put off the gloves. grasp the rims of the gloves with both fingers, starting from the wrist and rolling them back in the direction of the hands, making sure that the interior floor of the gloves does now not touch your skin.
-
Hand Washing: Use cleaning soap and water to thoroughly wash your hands for at the least 20 seconds. Pay unique interest to the fingertips, nail beds, and wrists at some stage in the showering method.
-
practice Disinfectant: After washing, take an appropriate amount of disinfectant and follow it frivolously to each arms and wrists, ensuring that each one skin surfaces are blanketed. The disinfectant have to continue to be moist and act for the length distinctive by using the product instructions.
five. Rub arms collectively: for the duration of the disinfection manner, rub your arms collectively, in particular the sides of the palms and the finger seams, to make sure the disinfectant is in full contact with the pores and skin.
-
permit Disinfectant to Evaporate: watch for the disinfectant to obviously evaporate and dry, without using paper towels to wipe it away, as this may disrupt the disinfection effect.
-
Isolation Measures: After the disinfectant is completely dry, take a paper towel or use a disinfectant wipe to wrap your hands. this is to prevent the palms from being re-contaminated when leaving the isolation room.
eight. put on Isolation Gloves: earlier than leaving the isolation room, wear new sterile gloves to further lessen the threat of pathogen transmission.
nine. keep away from Direct contact: After leaving the isolation room, avoid touching public items or centers immediately along with your fingers, which include door handles or elevator buttons.
- right Disposal of Isolation substances: remove the used paper towels or disinfectant wipes according to medical waste disposal rules, into the unique.
eleven. retain commentary: After leaving the isolation room, continue to reveal your fitness status, and searching for scientific attention in case you enjoy any discomfort.
by following these steps, you can efficiently lessen the hazard of pathogens being spread through the hands, ensuring the health and safety of each yourself and others.
Step 6: Clothing Sorting and Processing
honestly, here is the translation into English:
-
have a look at the clothing situation: before class, cautiously look at the protective garb that has been removed to make certain that no gadgets doubtlessly containing pathogens are left behind. If any damage or suspected contamination is discovered, immediately isolation remedy ought to be conducted.
-
classification and Labeling: based on the diploma of infection and the cloth of the protecting garb, categorize them into different types. commonly, this consists of contaminated garb (which may additionally comprise pathogens) and uncontaminated apparel (which has no longer at once come into contact with patient body fluids or secretions).
-
infected apparel Disposal:
- place the tainted apparel into a delegated clinical waste bag, ensuring the bag is securely closed to prevent the unfold of infection.
- according to local regulations, shipping the medical waste bag to a designated medical waste treatment center.
four. Uncontaminated apparel Disposal:- acquire uncontaminated garb one at a time to avoid blending with contaminated clothing.- If possible, use a washing machine to smooth the garb consistent with the ideal washing method to make sure thorough cleansing.- If situations are restricted, seal the apparel in a plastic bag for separate garage till it may be wiped clean.
five. Packaging and Labeling:- actually label all packaging bags and packing containers at some stage in the system, noting “infected objects” or “ ” (expecting cleansing) to facilitate identity and coping with by way of personnel.
- private defensive device for Handlers:
- while dealing with garb class and disposal, personnel should put on appropriate personal defensive equipment, which include gloves and masks, to prevent direct contact with infected objects.
- record keeping:
- preserve particular information of the entire method of scientific waste disposal, together with classification, disposal time, and employees concerned, for traceability and management functions.
- normal Inspection and improvement:
- often inspect the execution of the apparel category and disposal manner to make certain all steps observe hygiene standards and regulations.
- adjust and improve the process as necessary based on real situations to enhance paintings performance and safety.
via those steps, the chance of go-infection can be correctly reduced, making sure the safe disposal of medical waste, while also protecting the safety of workforce and the environment.